Image tiles
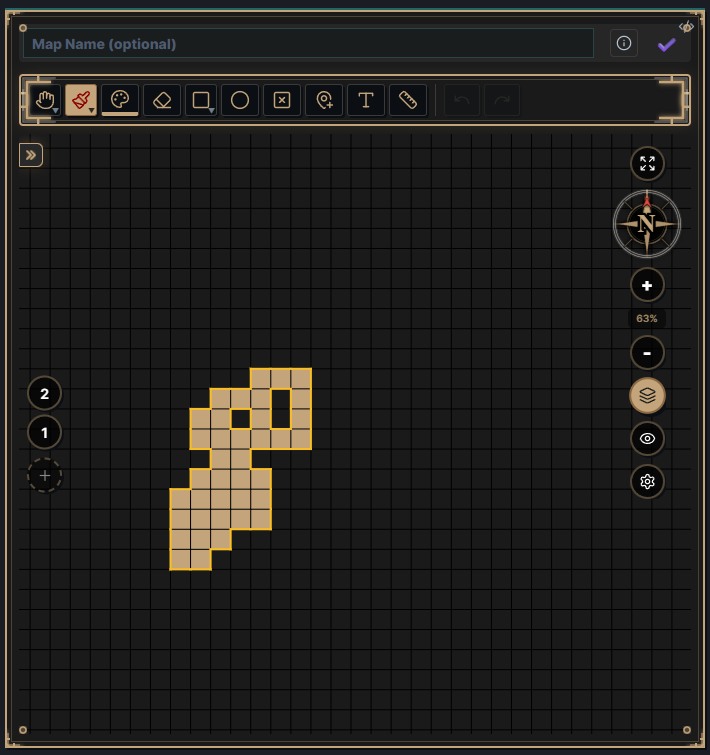
Image tiles are new in 2.0 and the single largest addition to Windrose: paint maps with image tiles instead of, or alongside, flat color — on both grid and hex maps (in earlier previews this was hex-only).
Activate tiles with the Place Tile palette tool, which opens the tile drawer.
The tile drawer
The tile drawer is a browsable, searchable library of your tiles:
- Organized by category and tag, with grid and list views.
- Starred favorites and a recents row for quick access.
- A depth/strata bar and filters for narrowing large libraries.
- In full-pane view, the drawer can pop out into a floating, dockable panel.
Placement sub-tools
With a tile selected, choose a placement sub-tool from the ribbon inside the drawer:
- Paint — place the tile per grid cell (click, or drag to paint many).
- Stamp — place a single freeform stamp at an arbitrary world-space position, not snapped to the grid.
- Scatter — place freeform stamps with random jitter — forests, rubble, and scatter terrain in seconds.
- Fill — flood-fill a connected area with the tile. The fill is wall-aware — wall segments act as barriers, so a walled-off room fills without leaking — and if the region turns out to be unbounded, the fill aborts safely instead of flooding the whole map.
- Brush — a soft, round, world-space terrain brush that blends seamless textures; works on hex as well as grid.
- Draw — draw walls and paths that follow a curve (see below).
A seventh sub-tool, Auto (autotile), appears only when the selected tile is an autotiling asset, and places tiles chosen automatically by their neighbors.
The drawer recommends, dims, or disables each sub-tool based on the selected tile’s form (cell, region, line, or autotile) so you’re guided toward the placement mode that tile was made for.
Walls and paths
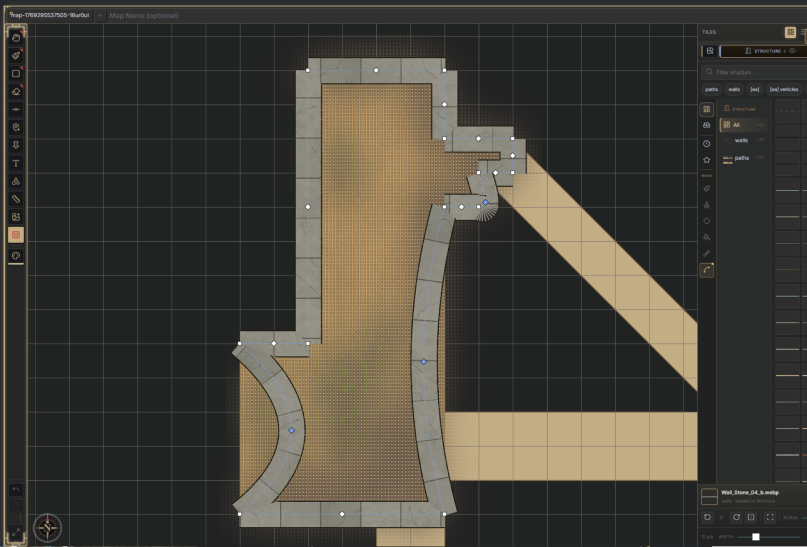
Using the Draw sub-tool, lay down wall segments and winding paths that follow your cursor:
- Drag a segment to bow it into a curve.
- Edit vertices after the fact.
- Wall and path tiles (“strips”) from Dungeondraft packs are detected on import and handled as line assets automatically.
Openings
Walls can carry openings — doors, windows, and thresholds seated into gaps cut in the wall itself. These belong to the wall tool, not tile painting: with the Draw sub-tool active, select a door or window asset (a Dungeondraft pack’s portals are detected as opening assets on import) and click a wall to seat it into place. Placement is scale-aware — the Scale slider multiplies the art’s natural width, and the art seats into its gap preserving its aspect.
- Click an existing opening to select it for editing — drag it along its wall, resize it from its edge handles, or delete it.
- Alt-click a wall to cut a bare threshold — a capped gap with no art. A Threshold entry in the sub-tool ribbon does the same at a default one-cell width.
- Openings are anchored to their wall segment, so they survive vertex edits, curve changes, and cell-size changes.
Not to be confused with the door objects in the object drawer: those are grid-placed markers that sit on top of the map, while an opening is structural — an actual gap in a wall, with the door art living in the gap.
Rotation, flipping, and scaling
Placed tiles support rotation, flipping, and scaling. The drawer’s scale readout is editable — type an exact value rather than dragging the slider to it. Per-tileset render settings give finer control over how a tileset’s images are placed and drawn.
Importing tiles — the Add tiles wizard
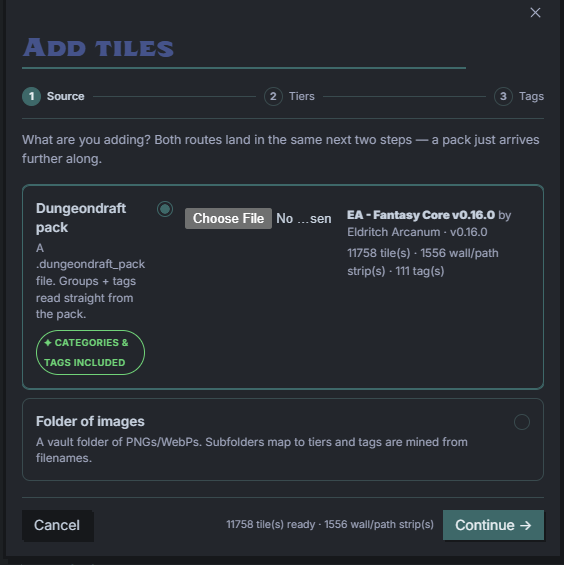
Bring tiles in through the Add tiles wizard (Settings → Tile Sets). It handles two sources through the same three-step flow:
- A Dungeondraft pack (
.dungeondraft_pack) — the archive is streamed rather than loaded whole, so even multi-gigabyte packs import without exhausting memory. Categories and tags come straight from the pack. - A folder of images from your vault — subfolders map to strata tiers and tags are mined from filenames.
The three steps are:
- Source — choose the pack file or vault folder. A pack preview shows tile, wall/path strip, and tag counts, and warns if it was already imported.
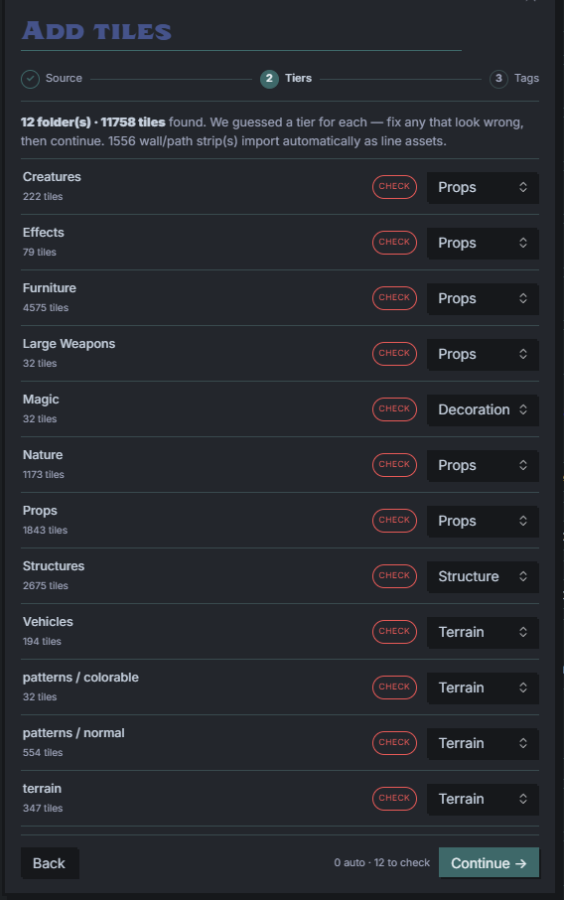
- Tiers — one row per subfolder/category, each with a guessed stratum (Terrain, Structure, Props, or Decoration) you can correct via a dropdown. Wall/path strips import automatically as line assets and skip this step.
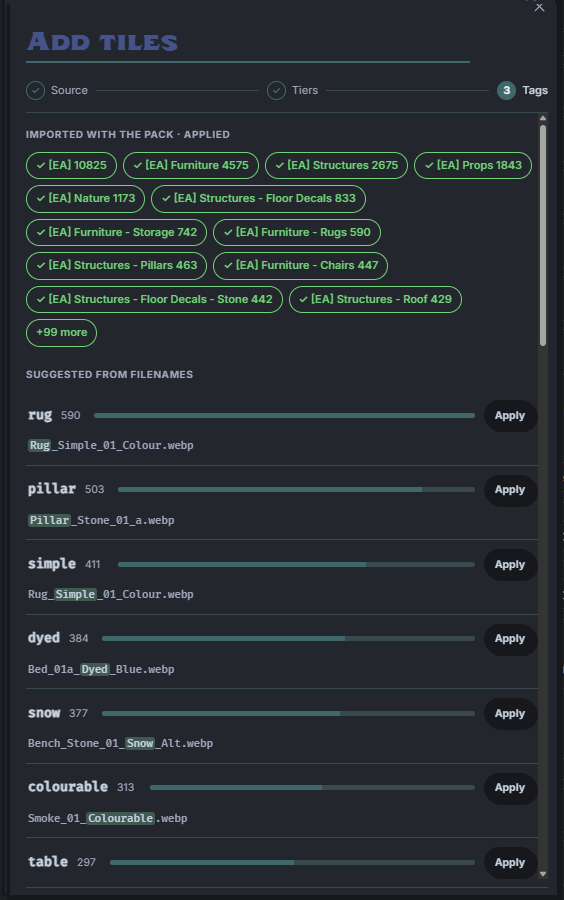
- Tags — pack-shipped or folder-derived tags appear pre-applied as chips, alongside a frequency-ranked list of tags suggested from filenames (each with a sample filename and an Apply toggle). A manual tag input applies to everything being imported.
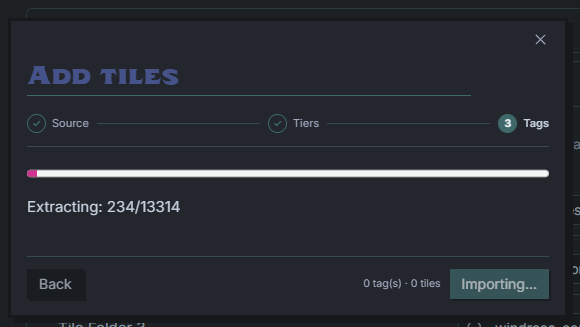
Finishing extracts the assets into your vault and registers the tileset.
| 1. Source | 2. Tiers | 3. Tags | Importing |
|---|---|---|---|
 |
 |
 |
 |
Per-tileset settings
Per-tileset rendering settings (via the gear icon in the tile drawer) let you tune how a tileset renders — for example the render mode, stamp thresholds, and minimum stamp scale — which is useful for mixed tilesets that combine large terrain textures with small decoration images. The panel is reachable from embedded maps as well as full-pane view.
Art scale is a per-tileset render-time size multiplier applied about the cell’s center. Hand-drawn tilesets are not always cut to exact cell width, which leaves hairline gaps between neighbouring tiles; raising the multiplier a few percent closes them without re-importing the tileset. It affects rendering only — placement data is unchanged, and stamps are not scaled by it.
Boards, strata, and layers
Windrose organizes a map’s depth into three tiers. If you don’t use image tiles, you can ignore strata and layers entirely — a map stays in a simple, flat mode until it acquires real tile layers.
Boards
A board is like a floor of a dungeon or a state of a battlefield — before/after, upper/lower, and so on. (Boards were previously called “layers.”) Boards can be renamed and given icons, and per-board opacity lets a lower floor ghost through for alignment. Objects can link between boards.
The layers display can be switched between a simple mode — a flat list of boards — and a fuller view that also exposes the strata and layer classifications below.
Strata
When painting with image tiles there are four fixed strata, from the ground up:
- Terrain — the base ground layer.
- Structure — walls, paths, and built features.
- Props — furniture, clutter, accoutrements.
- Decoration — finishing touches: items on tables, small details.
Dungeondraft packs are auto-sorted into appropriate strata on import, which you can adjust during import or later. You can place anything on any stratum regardless of its default.
Erasing isn’t limited to the active stratum either: the Erase tool removes a tile on whichever stratum of the current board it’s clicked on, switching the active stratum to match. Undo restores the stratum you were on.
Layers
Layers are the sub-categorization within a stratum. Want a base of grass in the Terrain stratum, plus a separately-editable patch of old cobble soft-brushed on top? Each becomes its own layer, individually toggleable for visibility.
Under the hood, boards, strata, and layers are a projection over a single flat list of layers: a board groups layers by a board id, and a stratum groups them by role. A map switches from the simple, single-layer mode into full composited strata mode the first time it gains a real board of tile layers.